LIGHTAILING Light Set for (1989 Batwing)
Review
Recently, LEGO have been flooding us adult collectors with 18+ sets. They are generally for display, looking great on the shelf! Or in the Batwings case, the wall. Unlikely that these will get played with, collectors are more commonly accessorising their models. Popping some LED lights in there to bring them to life. There are becoming more and more LEGO-compatible LED lighting kits available, all seem the same but different, so how to find what works for you?
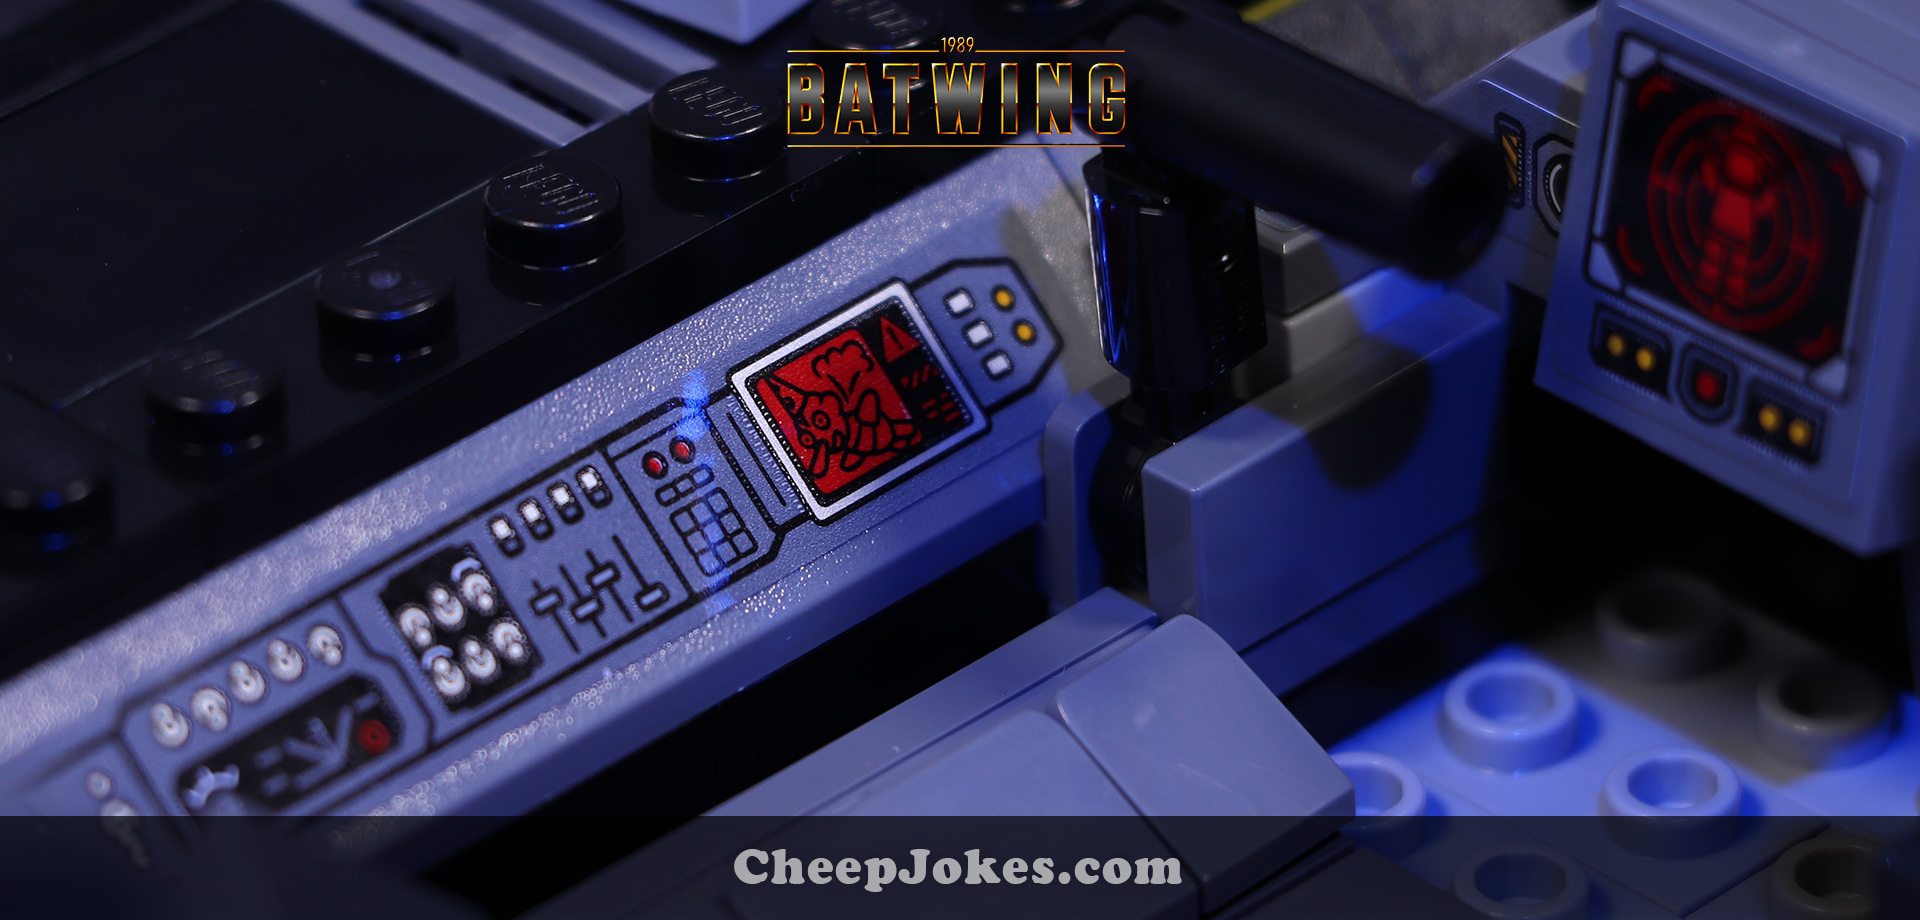
We were recently contacted by Lightailing, with an offer to review one of their kits. I had been wanting to light up my Batwing, so it was kind of perfect timing. I have used other brands before, so I can happily say I have a basis for comparison. Apart from getting the kit from Lightailing, I can tell you this is not a paid review and is honest based on my experience.
But, if you do want to try Lightailing, use coupon code ‘BrickBanter‘ for a discount.
Our pleasure!
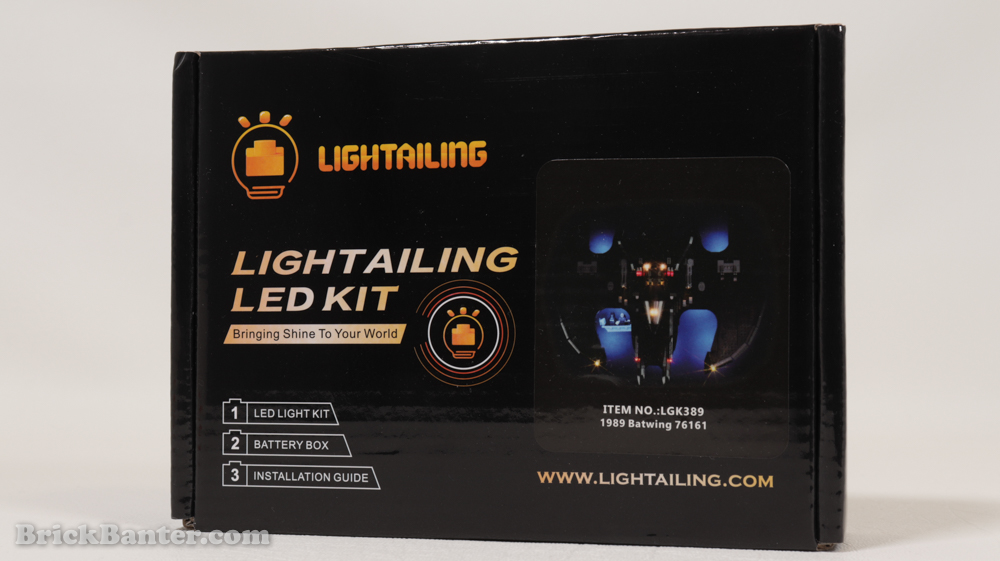
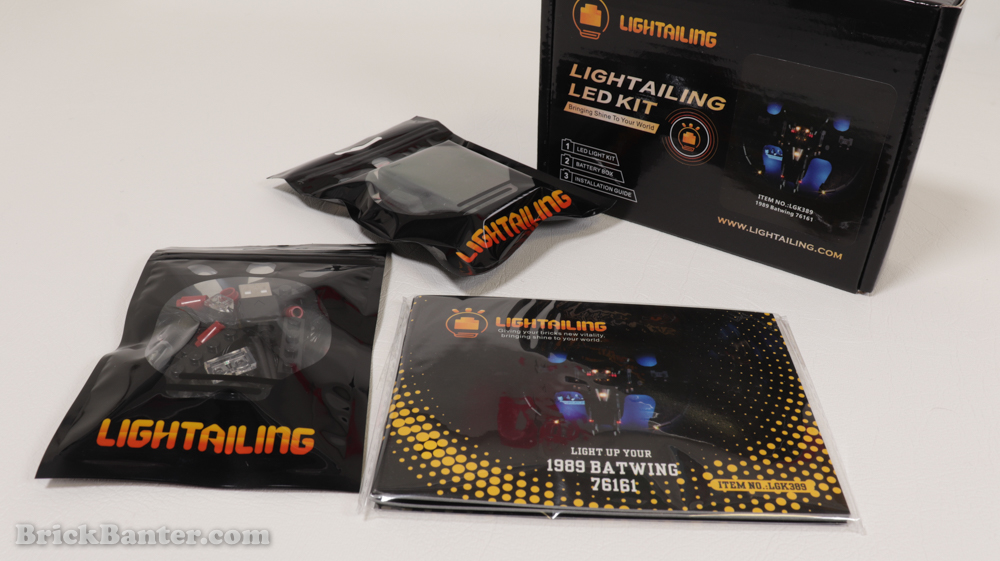
What’s In The Box
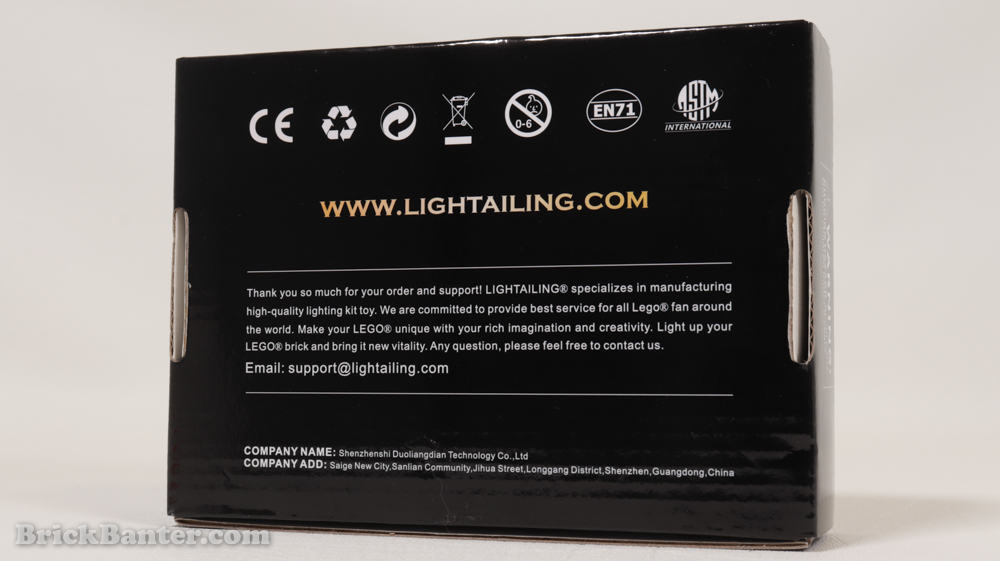
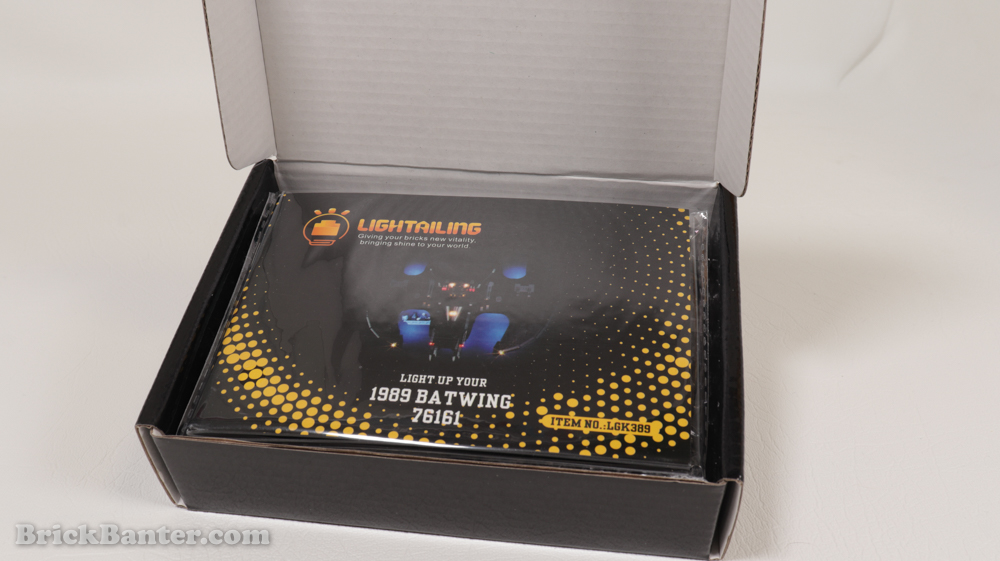
It’s a stupid bit of psychology, but we humans enjoy an ‘unboxing experience’. If things are presented to us nicely, we perceive them as being good. Lightailing is no exception, it’s a small, clean box, which contains the instructions, battery pack and LED lights. All nicely packed in. They have kept their product quite universal, with an FAQ booklet in six languages, with pictures to make it easy.
The LED Kit
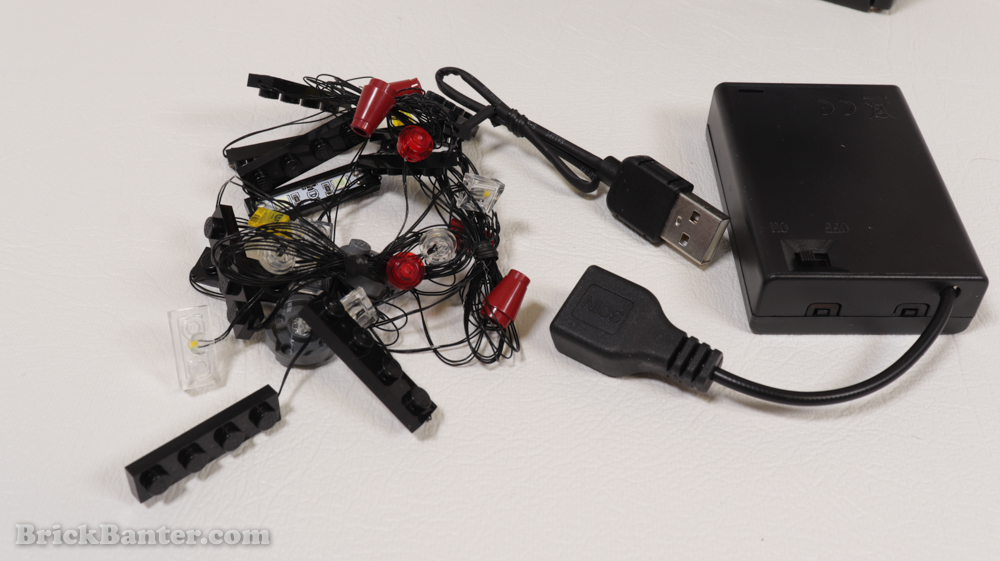
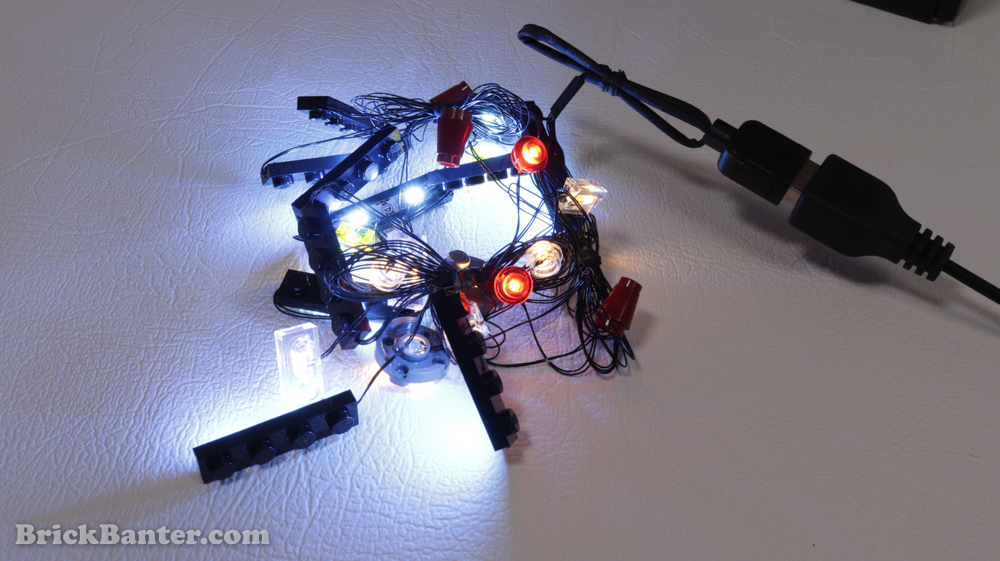
Excuse the photos. I know this looks like a hot mess, but I assure you it’s not as bad as it looks. Before you do anything, the instructions advise us to test the LED lights to ensure they are all working. A smart move by Lightailing. As the wires are quite thin for these kits, if you accidentally pull one off the light while assembling, that’s on you. By testing prior, you can prove the light was busted before you start installing. They are just covering themselves.
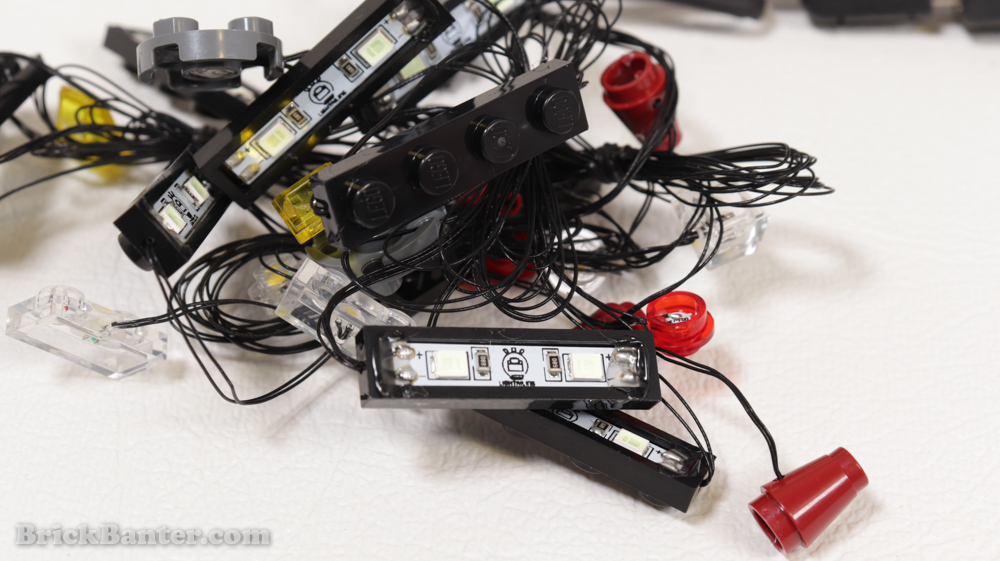
Another thing you’ll notice which I wasn’t expecting, is it comes with LEGO bricks! The LED lights are installed within the parts, glued in place to make it easier. Not all lighting kits do this. I used a different brand for the ’89 Batmobile, which has three LED lights on each side in the headlights. These were just LED lights by themself, on the end of a wire. Which meant I spent A LOT of time trying to get them to face forward. Honestly, it was a pain in the butt. So having the LED in place, facing the right way, is a big tick in my book.
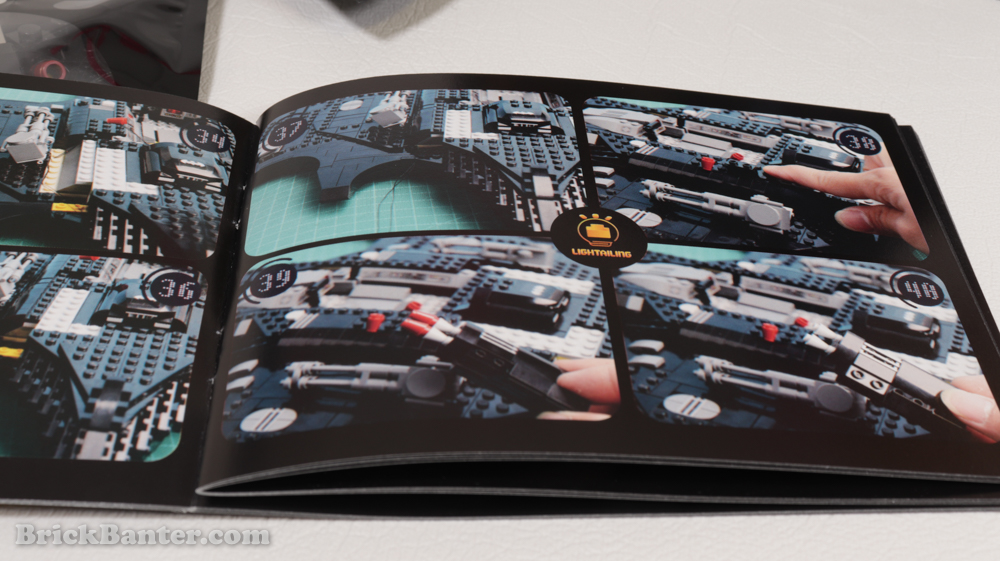
The Instructions
It’s worth noting, the Batwing is a pretty simple install. Unlike the Batmobile, there were fewer technical build techniques to work around when running the wires. Keeping the instructions universal once more, it’s all just pictures. No words required. They are clear and I was able to follow them without issue. They do display where you are to put the pieces back in place, but I found you might have to take a mental note, especially if you are working on a more complex model.
The instructions are also included! Weird thing to say right? Not at all! The ones I have previously done have the instructions online. I would say there are pros and cons to both. If they are online, at least it’s an easy fix if there is a mistake, plus their photo quality can be a much higher and detailed resolution. Coming with the model, it meant I didn’t need to mess around with a website trying to find them. In saying this, Lightailing does online instructions including videos on YouTube available to assist you, if that’s what you prefer.
The Verdict
As I mentioned earlier, the Batwing was a pretty simple install compared to the Batmobile. But it was made easier by Lightailing including LEGO bricks with the LED light glued in and in place. This saved me so much time trying to line up the LED to face the right direction. I have broken the LED previously when trying to achieve this, as I put it in place and removed it so many times, the little thin wires broke. Some other brands also come with adhesive strips to stick the lighting boards in place. For this particular set, this wasn’t needed as it was all installed within the supplied bricks.
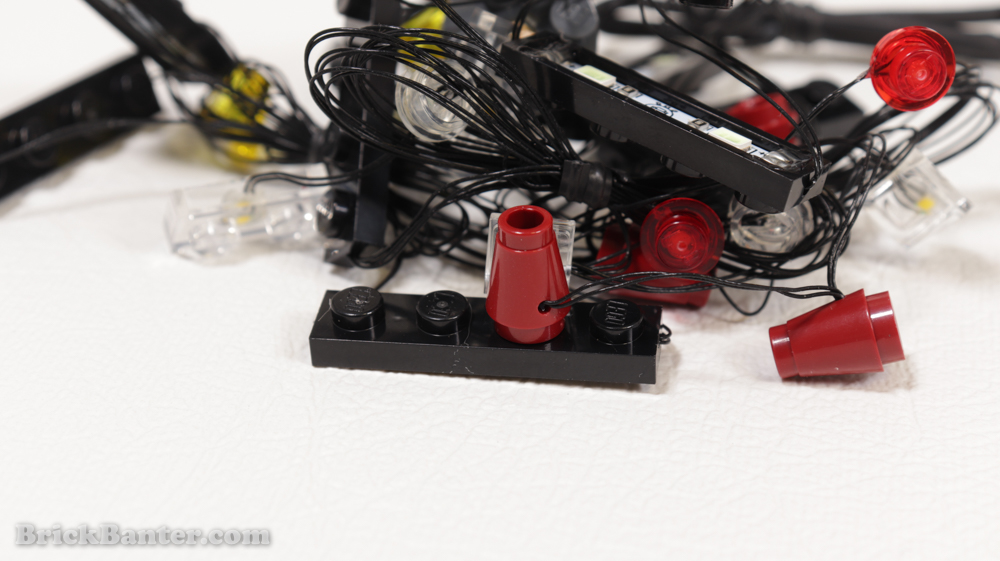
Take note of the 1×4 below. This particular piece connects to the underside of the Batwing. In the red cones however, a bit of glue did come down a little too low, meaning the brick couldn’t get in 100% in place. I still got it on, but it was the tiniest gap and not a snug fit. Not a big deal.

Continued
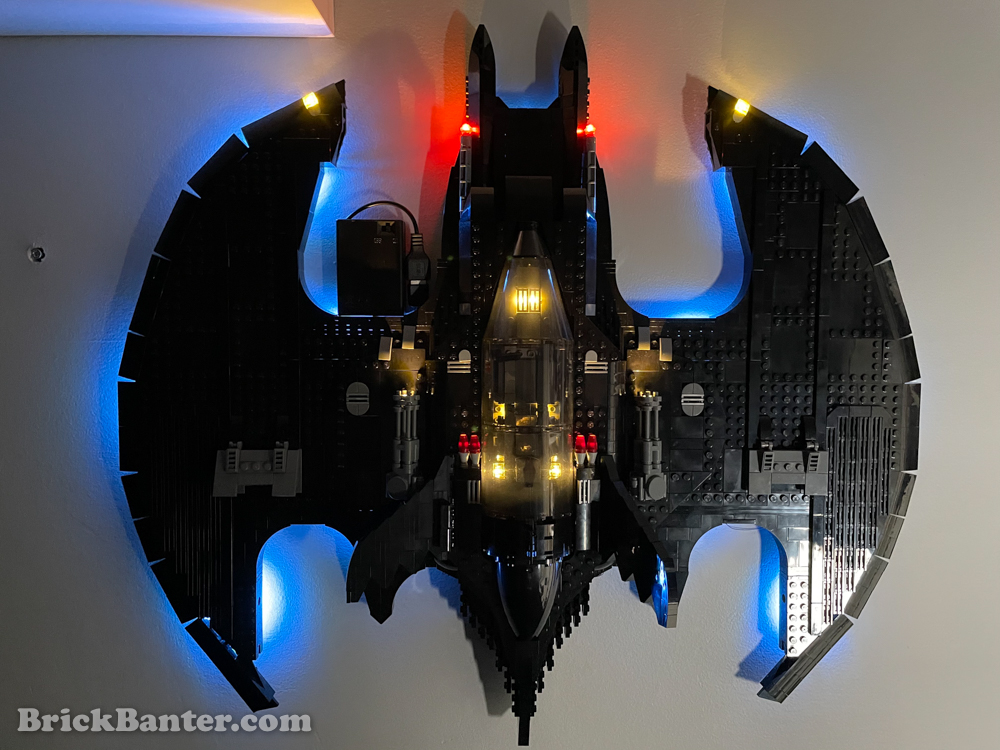
This particular model comes with a 3x AA battery pack, which is quite large. If you are planning to hang it on the wall like mine below, this may mean you have no where to put the battery pack. Even if you have it on a shelf, same deal. But, it does have a USB connection. So it’s not too hard to problem solve an alternative here.
Overall, I found Lightailing super easy to work with. I love the fact it comes with bricks that have the lights glued in place, the instructions being included, but also with the option of online. The battery pack is quite large, but it’s not hard to get smaller ones if needed.
Price-wise, they are a little cheaper than some other brands, but lighting kits never seem to be cheap either. Check the prices for this particular kit via the links below, as per Amazon.
(Prices may be subject to change by Amazon)
Lightailing can also be found at https://www.lightailing.com
For a Lightailing discount, use Coupon Code: BrickBanter


Thank you for reading
Support BrickBanter.com by shopping for your LEGO® via the affiliate links below.
It’ll cost you nothing but will mean the world to us. 🫶
🇦🇺 Australia – 🇨🇦 Canada – 🇪🇺 Europe – 🇬🇧 United Kingdom – 🇺🇸 United States – 💛 Everyone else
Explore more articles


BrickBanter.com is a recognized LEGO® Fan Media account.
Review sets are supplied by the LEGO group.