How To Create LEGO Mosaics
Ok friends! Mosaic creations are a bit of a holy grail in the world of Lego creators. A very time-consuming process that’s full of trial and error as well as trying to work within a very limited range of colours.
The struggles of a mosaic creator
Back in the day if you were savvy enough you could create pixel art in something like Microsoft Paint to create a rough guide. Another way involved tweaking in Photoshop to limit an image’s colours to match the range of LEGO.
However, the next step always involved manually creating a list to order then finding the parts, something that takes a long time, even in the age of online ordering.
Programs and websites have existed for a surprisingly long time that help generate mosaics. LEGO once featured a brick-o-lizer feature online back in 2000 which was paired with a kit you could buy in the shops.
If you’re a collector, this is a rare item!
Options
Many online applications exist around the place as well but are often not very user friendly. Or are limited in their options most acting as a bit of an image filter for an effect.
Other options are services like Photobrick, which allow you to upload an image and they provide you with the finished product with some assembly required.
However, this doesn’t allow much control over the end result with a bit left up to chance. A more DIY option is to use Bricker in Blender. But this requires a fair bit of technical knowledge to get decent results.
However it can be sent back into Studio to get a listing of the pieces needed.
Bricklink’s mosaic maker for Studio
All this has just changed with the recent release of Bricklink’s mosaic maker for Studio. This isn’t Bricklink’s first foray into mosaics.
A few years ago they had an online creator that was able to link into Bricklink’s stores. But the downside was that it was unable to calculate by cost.
Having pieces get generated with tons of very expensive bricks.
This new version is a one-stop-shop for creating mosaics and is surprisingly fully featured. At a glance, you load up an image, crop it if needed.
Then tweak the image’s colour ranges to get a decent array of shades in your final image and then some tweaks to adjust for pricing.

Here are a few tips I’ve worked out to get better pictures
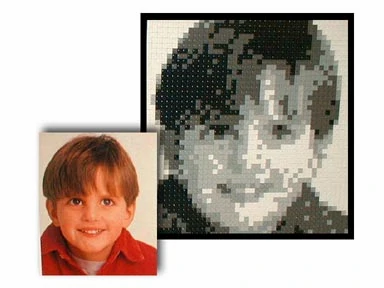
Work from closeups –
LEGO mosaics can be a bit like resizing down an image on a computer. Tricky right? You’re not going to be keeping in all of the details. So a source image that’s of an extreme close up is going to work better than a landscape.
If something looks lacking in detail, crop your image closer. 48 x 48 is a decent starting point (it’s what the LEGO art series are using). But a larger baseplate size is going to generate a clearer image.
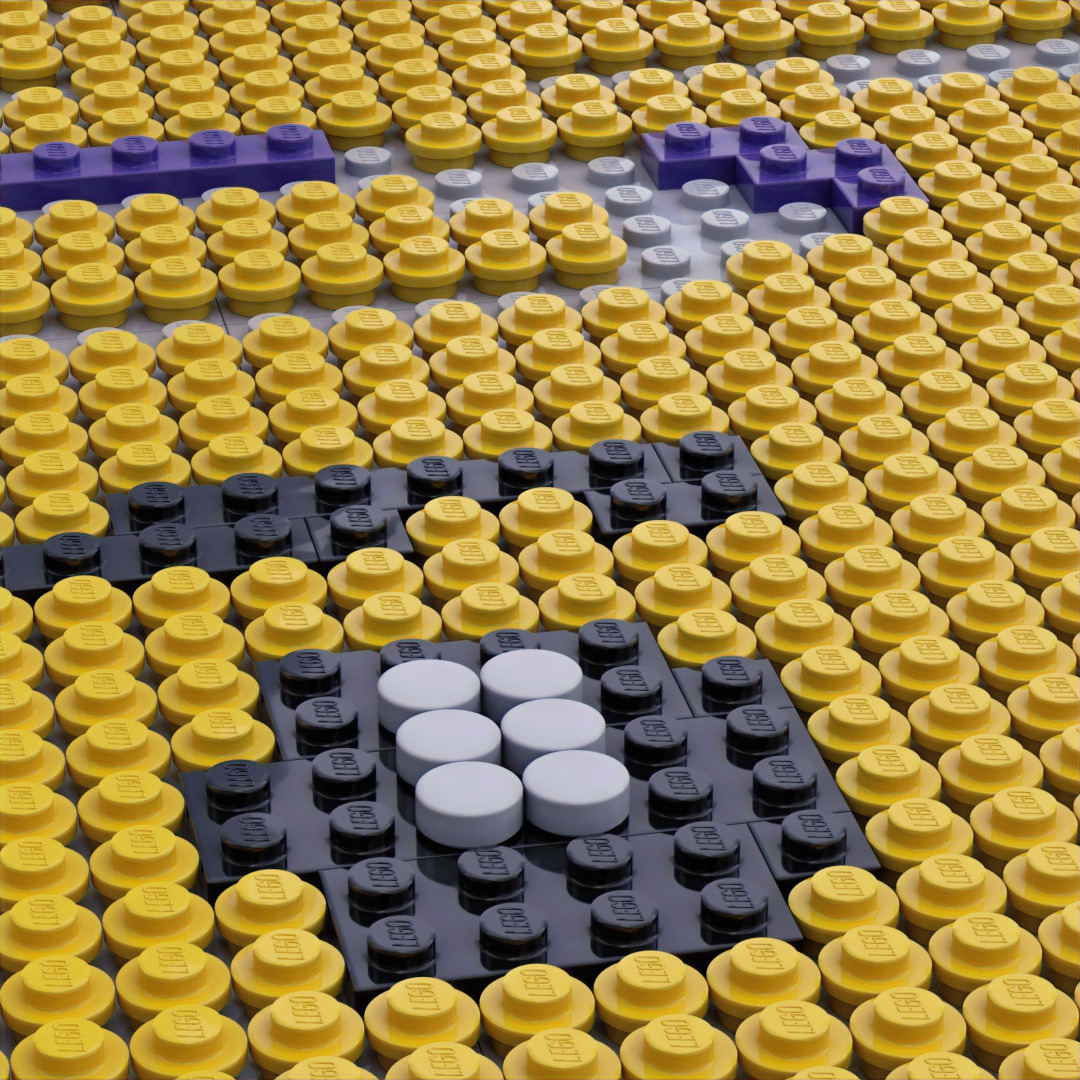
Untick the ‘Use Various Sized Parts’ button –
You might be wondering why your image looks oddly distorted. This is because by default the mosaic is made up of assorted sizes to keep costs down.
Located at the bottom of the mosaic setting interface the “use various sized parts” switch will turn on the ability to use 1×1 plates exclusively.
Play with the hue and saturation settings –
The preset settings can be a bit much, often overexposing an image and washing out the details.
One trick is to adjust the hue and saturation sliders if your image is suffering from too much banding or subtle colours are popping out far too much.
Using the custom pallet to effect –
One way to limit colours is to create a custom pallet. This is done by putting down what parts in what colours you need into your scene.
Then right-clicking on them all to add into a custom parts list or another option would be to import LEGO art sets as pallets.
The mosaic generator will then only use those parts if available to which type of element is selected, bricks plates or tiles…
So if you are only using red and green tiles, any plates or bricks won’t be used. Also, the program won’t add in additional colours so if you have a yellow minifig head and only white plates it won’t compensate.
This can be used to an effect by creating select shades in different parts and combining.
Don’t be afraid to touch up afterwards
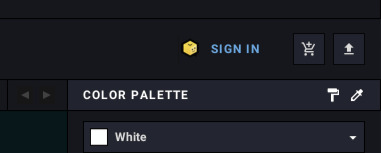
At the top right hand of the interface by the Colour Pallet, there is the paint roller and eyedropper tool.
These allow you to select a colour and do free form painting, very handy if there are areas that need touching up.
This is just the tip of the iceberg in what is an incredible new feature with many opportunities for expansion in the future.
If you would like to read more on LEGO mosaics, leave a comment below and let us know what you would like to learn!
Thank you for reading
Support BrickBanter.com by shopping for your LEGO® via the affiliate links below.
It’ll cost you nothing but will mean the world to us. 🫶
🇦🇺 Australia – 🇨🇦 Canada – 🇪🇺 Europe – 🇬🇧 United Kingdom – 🇺🇸 United States – 💛 Everyone else
Explore more articles