Learning How To Use Flexible Parts In The LEGO Bricklink Studio
One of the biggest challenges in LEGO Bricklink Studio is working with flexible parts such as hoses, chains and treads.
Bricklink Studio features an impressive feature where these elements can be flexed. However as awesome as this system is, there are a few limitations. This tutorial covers these parts and gives a few tips on how to best manage them. Let’s get started!
Flexible Parts – A Quick Summary
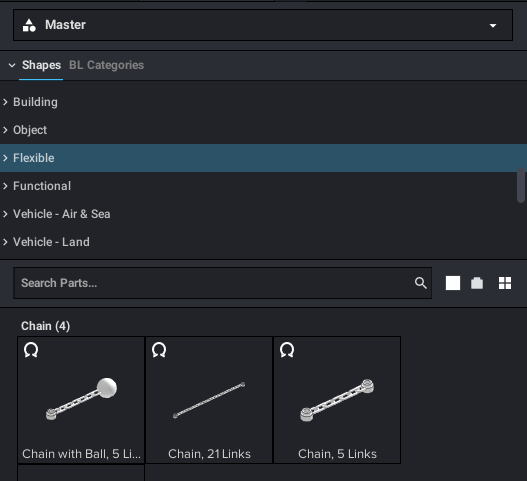
Not every part in Bricklink Studio is flexible, even things that are in actuality, such as whips or other bendable things like rigging. To find which parts are available either look for the flex icon in the parts list or select “Flexible parts” in the list. Check out the pic below.
Any flexible object can be placed down and when clicked in the main work area will have a little flexi icon that opens up the flex controls.

However, there are some limitations. Owing to how the program operates its physics these items stretch more than flex. Hoses will break if you try to thread them through multiple clips for something, like lettering. One general tip to make a flexible object a little more responsive is to go into preferences and then to appearance and change the FPS to 60 fps. This might sound odd, but what’s happening is that the higher the frame rate the more data Studio has to calculate it’s physics. So how best to wrangle these pieces? Here are a few tips that cover things in general.
Hoses
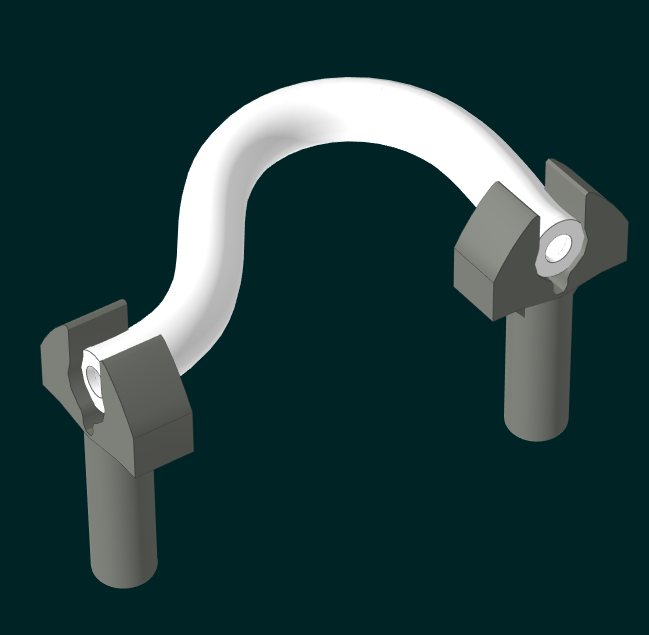
Hoses can be used as an alternative to bars (like the Nintendo TV antenna) or flexed to create railings or piping. They can also be tricky to control so here are a few tricks I’ve found. Your best bet, learn by doing!
Turn Off Snapping
This does sound a bit counter-intuitive but for flexing objects like a hose into an existing clip. One of the better ways to control it is to turn off the snapping feature. Despite it being very handy in some cases snapping will occasionally cause the hose’s physics to break. Especially if you’re trying to connect something in the centre. Rotate The Edges.
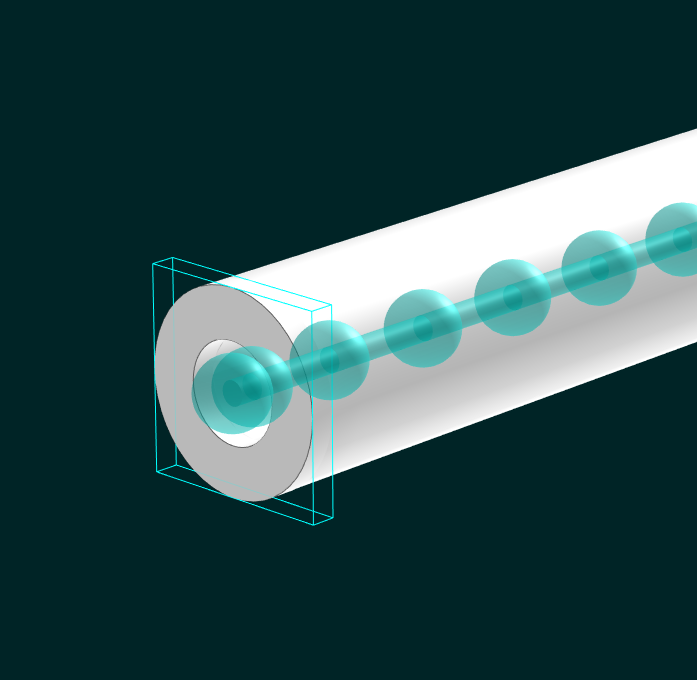
A little known feature is that the ends of the hoses are actually connectable like studs. Clicking on the end and using the arrow keys to rotate an end into position is very useful in helping control the bend direction. This also is the same for chains.
Let Things Rest
To get decent control flexible objects are operating in low gravity. As a result, they won’t droop or bend cleanly when being positioned. But one solution to get neater curves when joining point to point is to let the piece relax after positioning before clicking out.
Alternatively, this can be used to force sharper curves by pressing ESC, but if you edit the shape again it will start to unfurl.
Use Guide Pins And Plates
Some parts don’t connect the way they should. Pneumatic connectors for instance don’t have a connectivity point for hoses. One way around this is to use a pin or clip to create a temporary connective segment to guide a part of the hose in place. The connector can then be manually moved inside the hose to create the final effect and the guide pin removed.
Use Multiple Hoses For Complex Shapes
Sadly the flex system isn’t brilliant at doing a simple curve, such as the Mos Eisley cantina hose that goes around the edge of the bar. My solution was to use two hoses instead of one big long hose with the join hidden by the clip. A similar technique was used for the Betrayal at Bespin set where multiple smaller hoses were spread out between connectors.
This is one way you can use hoses in Studio to create letters in conjunction with guide clips and pins.
One Additional Tip
If a clip has a hose in it and you need to put in a second hose, hide it first (using L to hide) this will free up the clip and allow the second hose to be snapped into place.
Chains
Chains are a little different in that they are a series of jointed segments that interact with each other and each segment can be moved. Given each link in the chain is its own physical object that collides this can make for some tricky maneuvering.
Give Them Some Slack
Because we aren’t working with proper physics these items won’t drag themselves around, they rely on their two connection points. If connecting an anchor that needs to be draped over something, move the ends closed so the chain isn’t as taut.
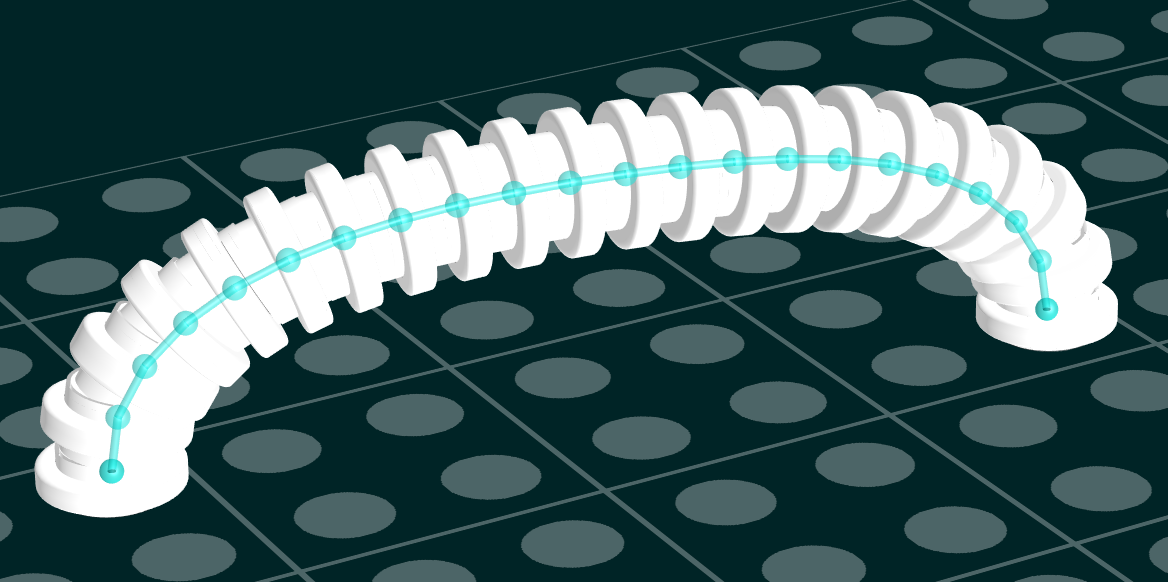
Moving Chains Around
This can drive you up the wall, especially if you’re trying to thread the chain through holes. One quick tip to get the chain nice and head as in the above picture is to position it as required (giving it slack) then position the camera so it’s side on and pull one of the links so the chain goes taught, then let go and let it relax. However keep in mind a chain has limits, you can’t wrap it around things or loop something like a tire though one
Treads And Tracks
These do not operate with physics and often don’t snap to objects like gears resulting in a lot of manual movement being required to get a perfect lineup. There is a method I have used to help get tidier treads.
1. Create a length that is straight and goes across the whole length at the top of your gears, doesn’t matter if there’s any excess.
2. Select all of these then press “copy and mirror” (found on the lower right of the interface). Use the arrow keys to flip the tracks and the move tool (T) to slide it into place so it’s parallel.
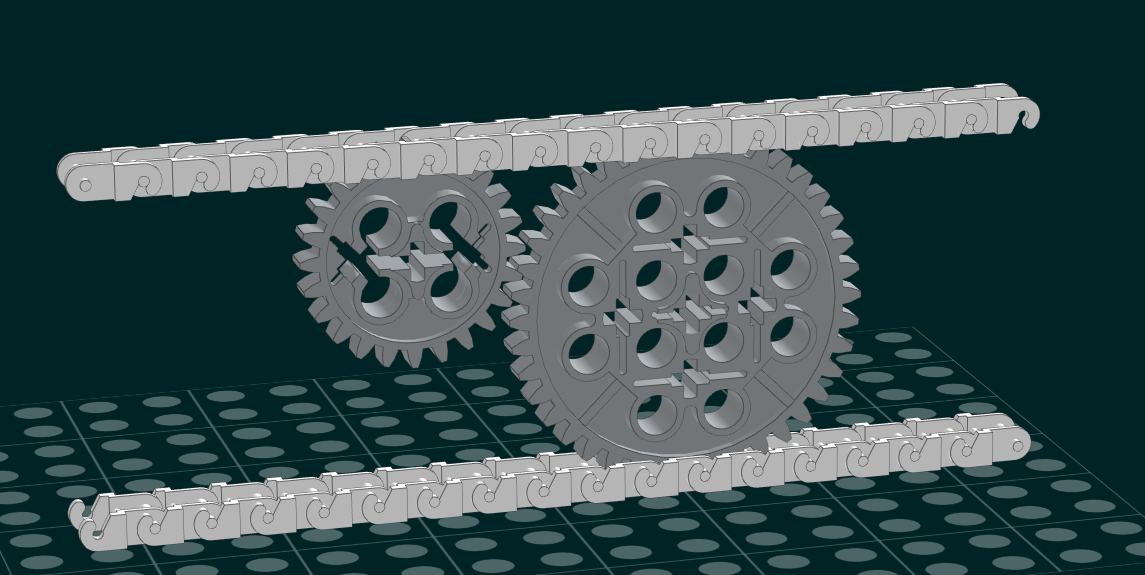
You should have something like this. Note how one end of the track has its connector pointing down and the other pointing up.
3. With both chains in parallel, use the hinge tool (H or R) to rotate select links into position. You will see in the example picture I’m only moving links on joins that curve If you have any excess links simply delete, or copy and paste to add more if needed.
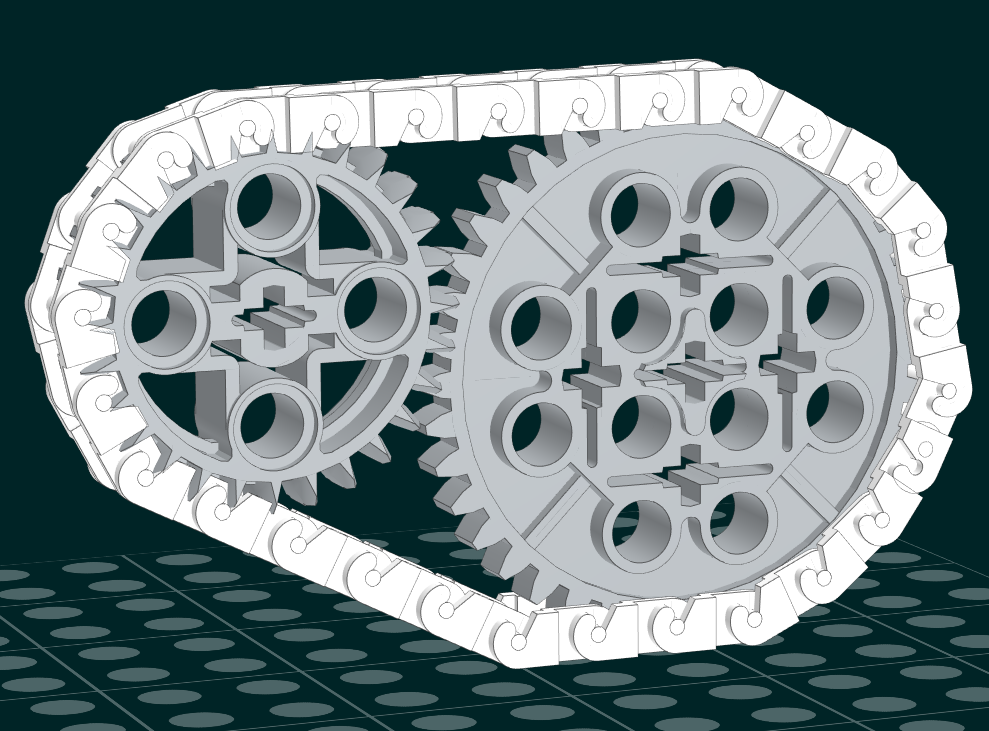
4. Finish up by grouping and colouring as required. Keep in mind these are static and will not move if the gears are rotated.
Third Party Solutions For Advanced Users
If you absolutely need to get the perfect curve there are a few programs that can help. LSynth is a program that is designed to generate pipes and other parts such as electrical cables. It is designed to work with LCad and so requires a different setup. A detailed tutorial can be found here. http://lsynth.sourceforge.net/ However the parts can be exported out and imported into Studio via Parts designer, but this isn’t covered in this tutorial.
Using MecaBricks
Mecabricks has it’s own flexible parts system and this also covers additional pieces such as whips, rigging scaffolding and technic parts. Many sets have already been built so you can go in there to pull out already flexed pieces. One advantage is you then can export these parts out as an .obj file which can then be fed into Parts Designer (set the scale as 250) and imported back into Studio. However, these will not have any snapping points (unless added) and won’t be recognized by Bricklink for ordering.
I hope these tips help you with building in Studio. Keep an eye out for more digital tips and tricks here at BrickBanter.
Thank you for reading
Support BrickBanter.com by shopping for your LEGO® via the affiliate links below.
It’ll cost you nothing but will mean the world to us. 🫶
🇦🇺 Australia – 🇨🇦 Canada – 🇪🇺 Europe – 🇬🇧 United Kingdom – 🇺🇸 United States – 💛 Everyone else
Explore more articles