LEGO Bricklink Studio – using submodels to build better.
Building amazing MOCs in LEGO Bricklink Studio is great fun, but no matter how micro or Kale scale you go you’ll inevitably get a bit overwhelmed with bricks and moving a complex model around is going to be a chore at some point with so many parts to select.
This article is going to show you one powerful feature of Bricklink; submodels. The best way to describe these is a grouped collection of parts that can be moved around as one big object.
This allows greater control over a large amount of bricks so you can hinge them or hide them or even duplicate and mirror them.
Often when building a big model I will frequently group what I’m building so I don’t have lots of bricks that could be accidently moved.
Read on to find out how to use submodels and some awesome tricks.
Creating a submodel.
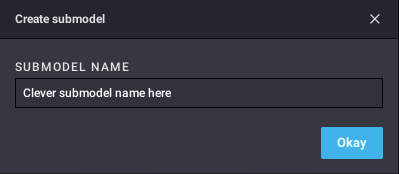
To create one you simply select the bricks you want to group, then press Control-G. You will be asked to give it a name and you’re done. If you are working on a really big model I suggest giving these subgroups a unique name so it’s easier to find.
Hinges
Hinged or ball-jointed pieces can be tricky to move around. Typically you do this by selecting the hinge tool and moving stuff that’s connected. But this isn’t always the case and sometimes parts get left behind.
This is where submodels come into play as we can group complex elements and move them all at once.
To do this you go up to Select and pick to Select By Connected and click the hinge you want selected. This should select all of the parts that the hinged element contains. You then press Control-G and you have a nice selection ready to rotate.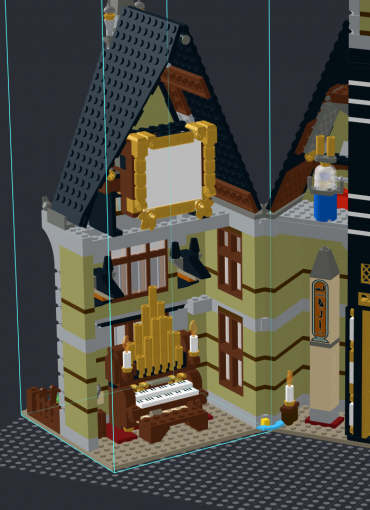
Making them linky-dink!
But wait there’s more you can do with groups. Every time a group is created it is automatically linked. If you create a copy of a tree, it is a linked duplicate. So if you edit this tree and make it red, all of the trees will turn red.
If you ever need to unlink a model, simply right-click and select submodel, unlink.
There are a couple of ways to edit a submodel. If you double-click on a submodel it will open up in place and have a wireframe of everything else in your build. This is handy to gauge where something is in relation to the rest of your creation.3
The other option is to right-click on a submodel and select view. This opens up the submodel in its own work stage. This is handy for working on something with no distractions or if a model is so big helps you focus on one element.
Attack of the clones
Another advantage of submodels is they can be copied and pasted. You can do this with the clone button or simply copy and paste.
This is a great way to use repeating elements across a build, such as floors of a building.
But you can go one step further with an extra command that’s tucked away called copy and mirror.
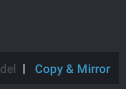
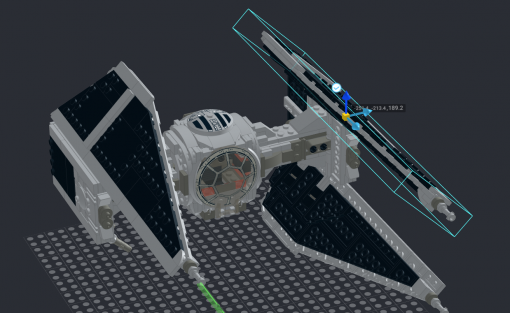
When you select a group, down in the bottom right there is a button called “copy and mirror” which creates a cloned version of your selected item, but mirrors it.
This replicates a common method in LEGO models where objects are built in a mirror copy of each other. So if you had a complex left side of a spaceship, you can select these in a group, press copy and mirror, and create the right-hand side.
For example this TIE interceptor where only one wing was built, the rest were copied and mirrored, saving a few minutes building the same items again.
Using submodels opens up a whole range of ways to help manage building your MOCs as well as providing many ways to help create that ultimate build.
Thank you for reading
Support BrickBanter.com by shopping for your LEGO® via the affiliate links below.
It’ll cost you nothing but will mean the world to us. 🫶
🇦🇺 Australia – 🇨🇦 Canada – 🇪🇺 Europe – 🇬🇧 United Kingdom – 🇺🇸 United States – 💛 Everyone else
Explore more articles


BrickBanter.com is a recognized LEGO® Fan Media account.
Review sets are supplied by the LEGO group.